Do you have an interest in art and always wanted to learn new forms and techniques of craft? Now that you are locked down and have hours of leisure time, try your hand at sculpting small figures. Get hold of air dry clay and you can try your hand at sculpting any shape. With Ganesha puja recently held and Durga puja coming up, you may start with the elephant god to build up the festive mood.
Make your clay
Open a pack of Fevicryl Mouldit and mix the resin and hardener provided inside. Use them in equal parts and mix till you form white clay. Keep in an air-tight container.
You can also make your clay at home. For this, in a bowl take half cup cornflour/cornstarch and add half cup Fevicol glue, one teaspoon vegetable oil and vinegar and mix them together to form white air dry clay. Again, store it in an air-tight container.
How to create Ganesha
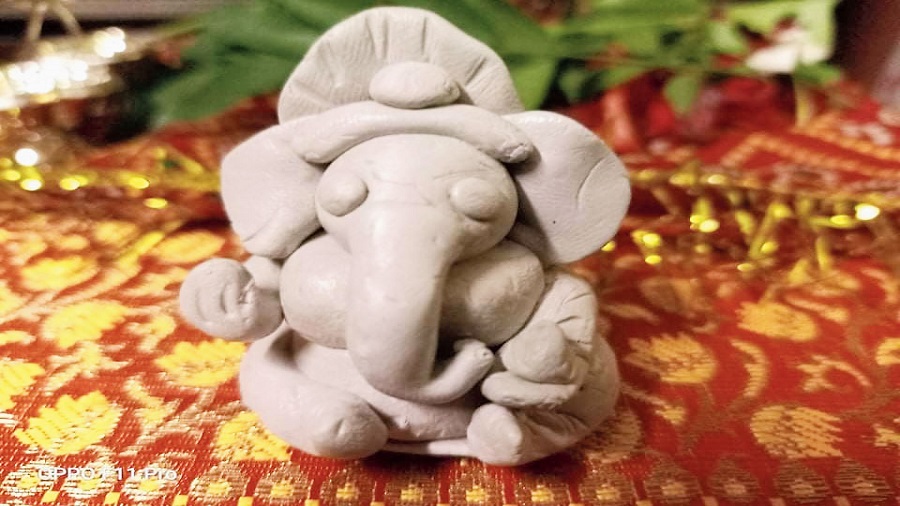
Step 1: Divide the clay into three different sized balls. Place the bigger ball at the bottom, then the medium one to form the body. Place the third ball on top to form the head, as shown in the picture on the left.
Step 2 : Take two small portions of the clay and roll it to form the legs. Slightly press at the bottom of the legs to make the shape of the feet and attach it to the body. Follow the pictures for reference.
Step 3 . Take two more small clay portions and make the hands.
Step 4: Roll a small portion of the clay and attach to the face in the between, to make the trunk.
Step 5: Make two small-sized clay balls and press them to form flat round shapes to represent the ears. Attach behind the head.
Step 6: Now take a small amount of clay and make the eyes. Add a small laddoo in the left hand. Let it dry. Your Ganesha is ready.
Shatadipa Bhattacharya
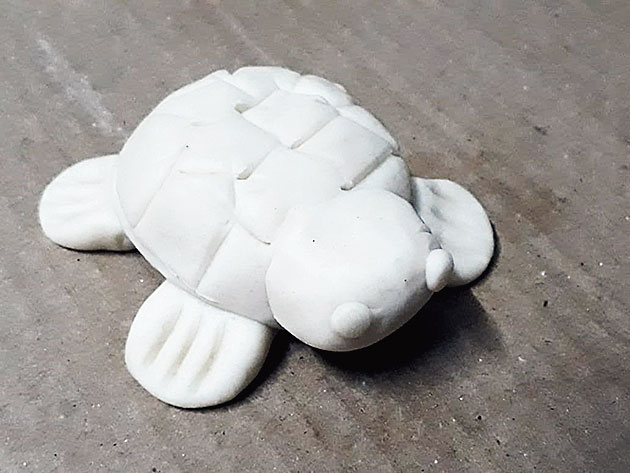
A tortoise of your own making Sourced by the Telegraph
A tortoise of your own making
Step 1: Take a big amount of clay and divide into five portions . One big oval shape for the shell and four small flattened shapes for the legs.
Step 2: Place the four small flattened shapes at the bottom and attach them to the oval shape to form the legs. Take another small round-shaped clay and make the head.
Step 3: Make the eyes. Take a modelling tool or use the side of a flattened surface to give designs on the back and legs.