
I like to call it “a dark circle’s knight in shining armour” for the manner in which it can totally rescue and illuminate the face of those with uneven-toned under-eyes.
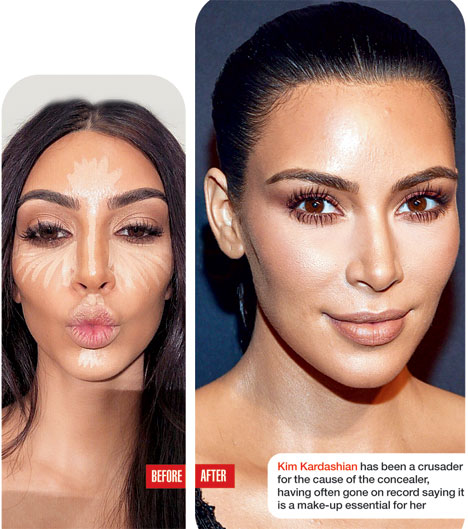
Whatever one may choose to call this magical make-up coverage go-to, aka concealer, it’s definitely a cosmetic must-have, one that a beauty buff can seldom leave home without. From dark circles and vitiligo white patches to pimple coverage, concealers provide help, should you choose to avail it. Here are a few tips to get your concealer game on point.

TYPES OF CONCEALERS
Colour corrector concealer: This works to bring an even tone to the skin before it’s layered into coverage. It comes in a palette of five colours — yellow, green, purple, pink and orange.
Matte concealer: It has a dry finish and is best suited for oily skin types. Using it on dry skin can nullify the purpose as it settles around any patches of dryness, making them more obvious.
Creamy concealer (pot and wands): This is for intense coverage, best suited for dry to normal skin. Oily skin with large pores should stay clear of this type of concealer as it makes the skin look oilier, clogs pores, can lead to breakouts and may slip off and destabilise the entire make-up application.
Liquid concealer: Best for light to medium coverage, it seems to be a preferred coverage option as it is most suitable for all types of skin and gives a very natural finish.
Water-proof and sweat-proof concealer: The summer go-to for those that don’t want their make-up to slip and slide while enjoying summer sports. Most come, as an added bonus, with the SPF requirements.
Pen-tipped/pencils/ brush-tipped concealer: For very light to natural-finish coverage.

BRUSHES & TOOLS
Concealer work needs precision, so it’s best to work with appropriate tools. Concealer brushes, with tapered ends to reach corners, domed brushes to blend as you move along the more rounded edges of the lower lids, and sponge wedges to seal in translucent powder and blend, are ideal for application.
HACKS
1. Mix a little concealer into your sunscreen lotion or your moisturiser and you have a foundation substitute.
2. Outline your lips with a fine-tipped brush and concealer before lipstick application. It prevents lipstick from bleeding and helps in defining the lips further.
3. Prime your eyelids with concealer as this prevents your eyeshadow settling into the creases and makes them stay longer.
4. Lighten lipsticks by dotting a bit of concealer over it and blending.
5. Dab the lower lip with a dot of concealer then blend to create the illusion of fullness.

BOO-BOOS
1. Creasing: When the fine lines around your eyes look deeper, this is generally caused by using too much concealer or too little blending. To prevent this, dab fine tissue paper over the applied concealer to absorb excess product, then blend with ring finger.
2. Ghost shadows: This can make one look sickly and ghost-like and is invariably the result of an improper selection of concealer colour, oftentimes, lighter than required. Selecting the proper shade is most important.
3: Caking: Incorrect layering and too much powder can cause this.

HOW TO HIDE...
...UNDER-EYE BAGS
People tend to apply concealer over the entire area, bag and baggage, when in fact concealer should be applied on the dark areas around the bags only. The eye bags instantly look less prominent.
...PIMPLES
Pimples are generally ruddy in colour, so colour-correct first with a brush, only on the raised area, then apply concealer. Finish with a dab of translucent powder. Less is more here as too much product brings the pimple head into prominence.
...DARK CIRCLES
1. Moisturise using minimum product; this plumps up lines and tired sagging skin.
2. Work in the colour corrector gently — orange for olive undertones, yellow for maroon to purple undertones, green for reddish undertones, mauve for sallow skin and pink to mask tiredness.
3. Begin at the inner corner, then work outward, using a small tapered brush, dot a light reflecting concealer along the
under-eye area.
4. Leave the concealer on for it to soften with body heat, thereby enabling better blending.
5. Using either the ring finger or a domed brush, blend the concealer in.
6. Using a wedge sponge or a puff, dab concealer with translucent powder to help concealer stay.
Priscilla Corner is a senior hairstylist with the UK Hair Council and co-owner of the June Tomkyns chain of salons. She can be reached at @junetomkynshair on Twitter and @priscilla_corner on Instagram